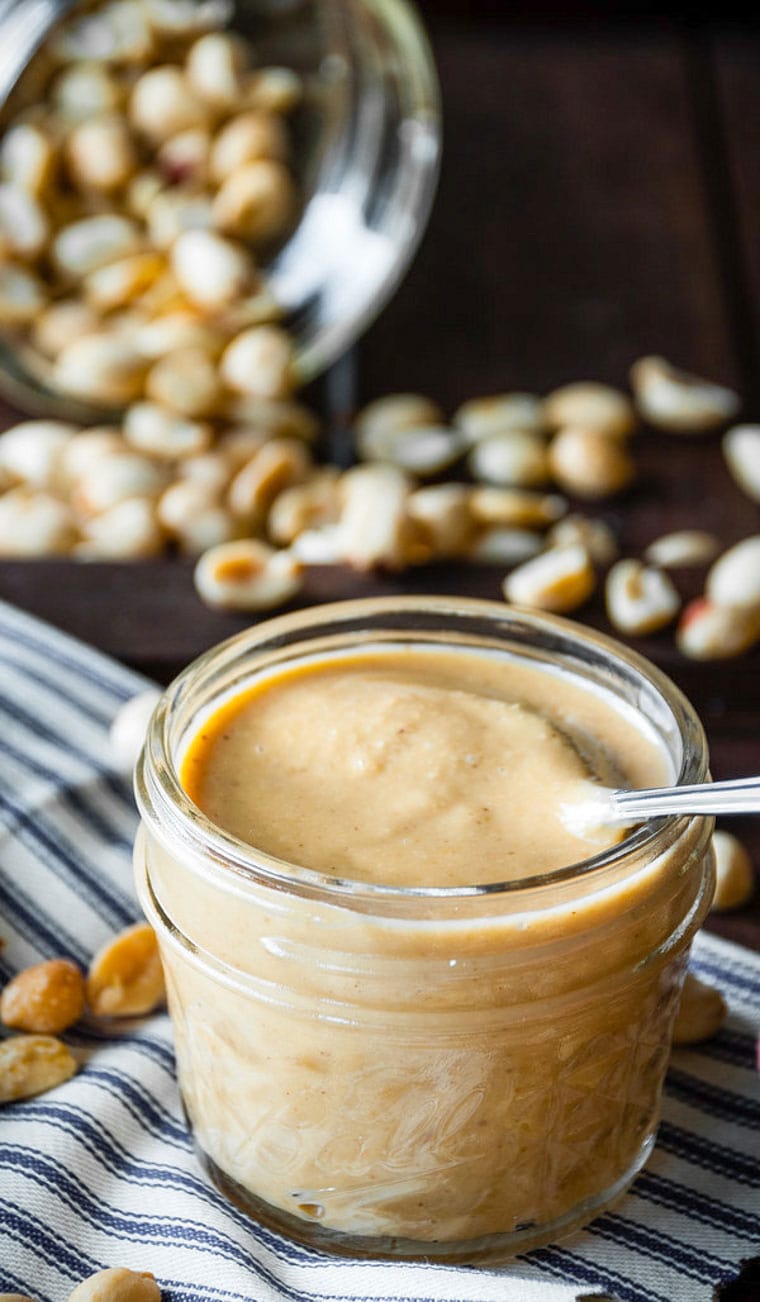
Homemade Peanut Butter - incredibly simple, no fillers, additives or sweeteners. Just peanuts and salt for better-than-store-bought Homemade Peanut Butter.
Homemade Peanut Butter is super easy AND you don't have to stress over any added ingredients or preservatives. Store-bought peanut butter, especially if it's not the natural variety, often contains hydrogenated oil-TRANS FAT.
Store-bought peanut butter may also contain vegetable oil, molasses, sugar, and mono and diglycerides. I don't know about you, but I don't want all those things in my peanut butter. Not to mention… store-bought peanut butter typically comes packaged in plastic. Avoid unnecessary ingredients and reduce your waste by keeping it homemade!
Homemade Peanut Butter is so easy and you know exactly what it's made of! So good you won't even want the store bought stuff anymore.
Hi there! Below you'll find affiliate links to great products that we enjoy using in our own kitchen.
Ready to make this super simple Homemade Peanut Butter? Let's do it!
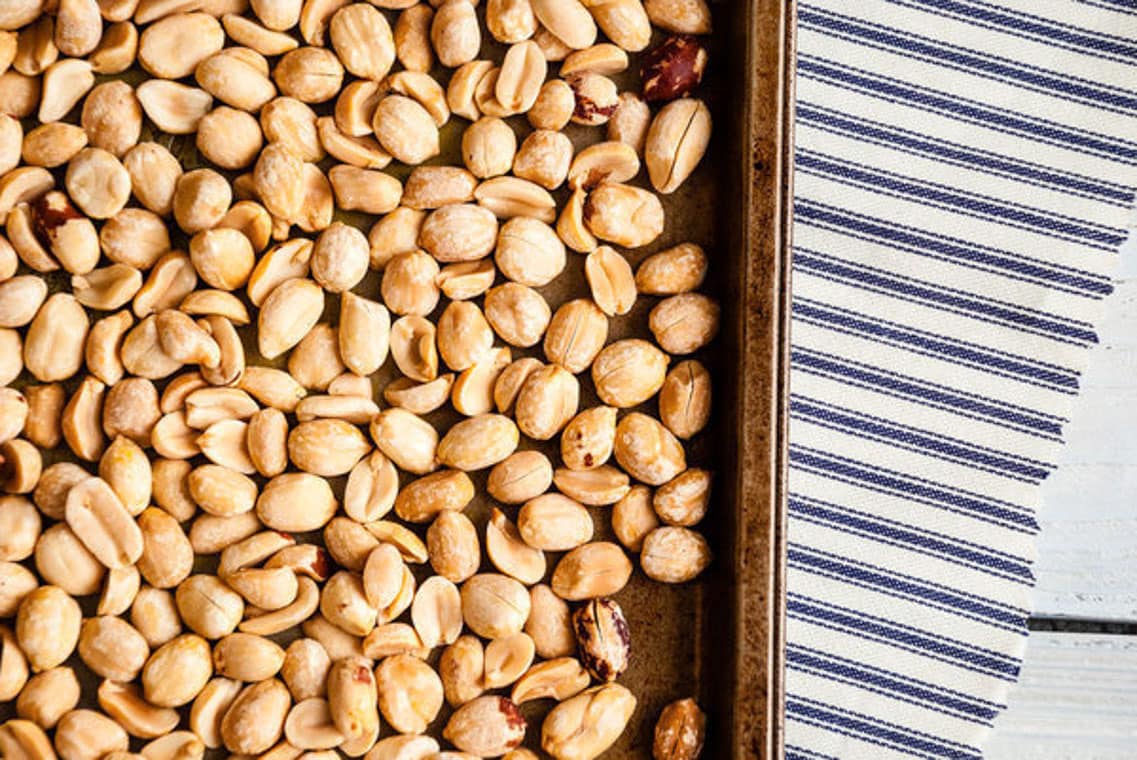
1 - Preheat the oven to 350 degrees F. Spread peanuts out on a
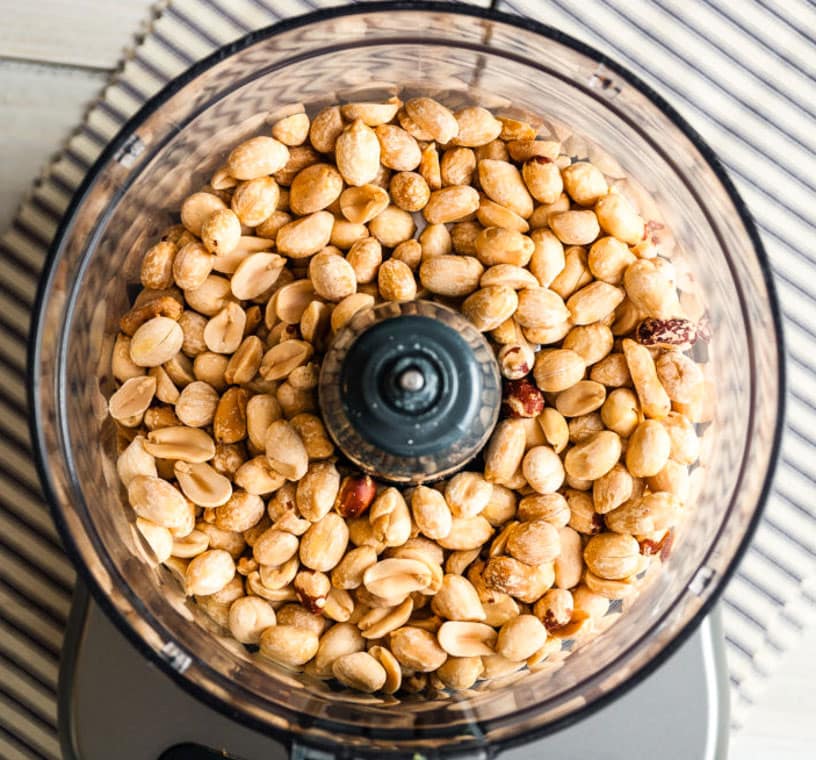
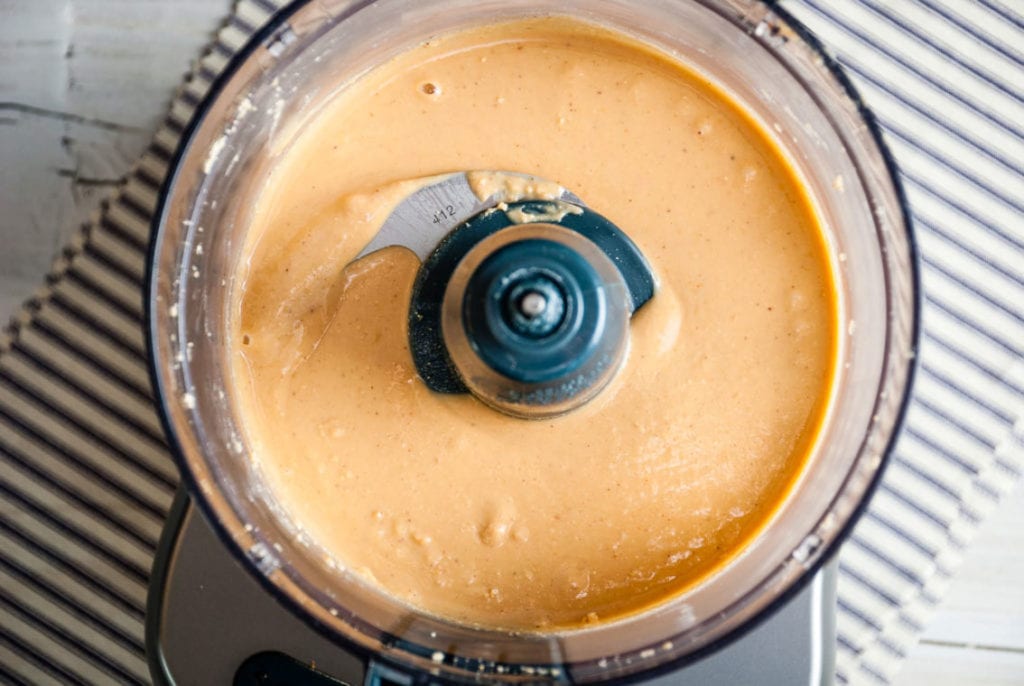
2 - Blend. Transfer the peanuts to a
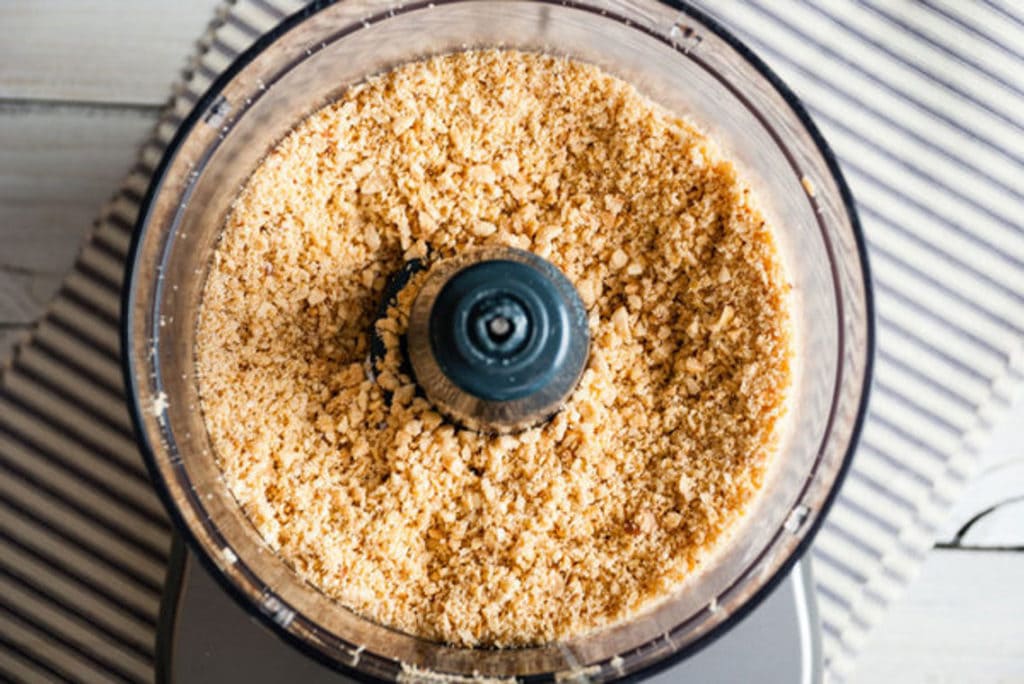
You'll notice the peanut butter will go through stages. From crumbs to a dry ball, to creamy, dreamy peanut butter. If you're not sure if it's done, let it run for another couple minutes. You'll know when it's done - it will be super creamy and smooth.
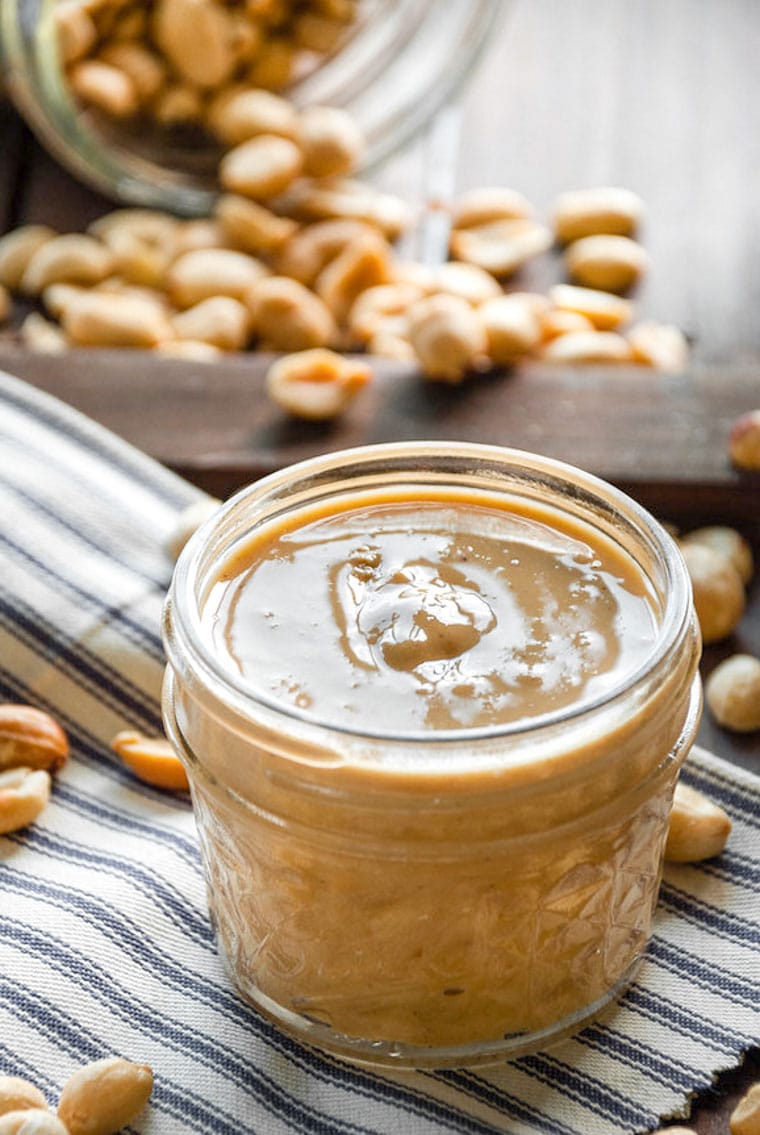
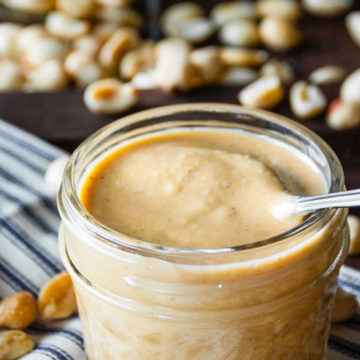
3 - Make it crunchy: After 10 minutes, the peanut butter should be smooth. Add salt and other additions like extra peanuts at this time. Then blend for another 1-2 minutes. Store in a glass container in the fridge. Enjoy!
Homemade Peanut Butter: Tips, Tricks and Tools
Tools: Roast your peanuts on a
Recipe Variations: Feel free to add different ingredients to change up the flavor, my favorite is a touch of honey. Or try cinnamon or cocoa powder. But keep in mind that the shelf life can decrease as you add extra ingredients.
You can use pre-roasted peanuts, but I still like to roast them for a couple minutes to warm them up and loosen the oils.
We hope you love this Homemade Peanut Butter!
Love this simple peanut butter recipe? Check out our other delicious Nut Butter recipes like this One-Ingredient Almond Butter or our Cashew Date Butter.
Did you enjoy Simple Homemade Peanut Butter as much as we do?
Comment below! And rate the recipe to let us know how yours turned out! Not making it today? Save this Homemade Peanut Butter for later by pinning it to your Snacks Recipes Board and make sure to tag us at The Crooked Carrot Instagram to show us your Homemade Peanut Butter creations!
📖 Recipe
Homemade Peanut Butter
Instructions
- Roast peanuts: Preheat oven to 350 degrees F. Spread peanuts out on lined baking sheet and roast for about 10 minutes.
- Blend: Transfer the warm peanuts to a food processor or blender (for chunky peanut butter, set ½ cup peanuts aside to add later). Pulse a few times until peanuts are roughly chopped. Run the food processor continuously for 10 minutes, pausing to scrape down the sides as needed.
- Finish up: After 10 minutes, the peanut butter should be smooth. Add salt and other additions including extra peanuts at this time and blend for another 1-2 minutes.
- Voila! Transfer your wonderful homemade peanut butter to a reusable glass container!
Equipment
Notes
Nutrition
Disclaimer: Some of the links above are affiliate links. This means that should you purchase something through the link, The Crooked Carrot will receive a small commission. The item cost remains the same regardless of whether you purchase through our link or not. Any commission earned simply helps us continue to provide all our great content to you. From seasonal recipes to simple nutrition insights & sustainable zero waste tips, we have lots more to give!


Leave a Reply