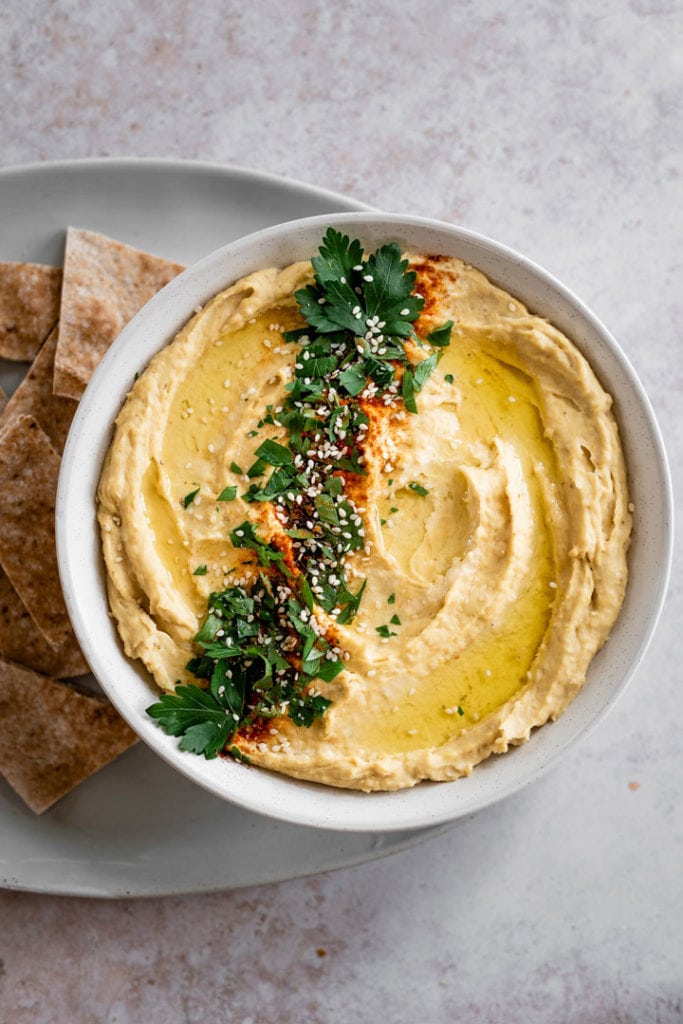
The Best Basic Hummus - an easy go-to smooth and creamy hummus recipe. Easily adaptable and the perfect dip, spread, or sauce.
Hi there! Below you'll find affiliate links to great products that we enjoy using in our own kitchen. As an Amazon Associate I earn from qualifying purchases.
I've tried many different hummus recipes and pre-made options from the grocery store. Some are okay, but I find that most fall short. And just end up getting crusty in the fridge.
So I set out to make a foolproof, delicious and easy-to-make hummus recipe. And by George I think I've got it!
This Basic Hummus recipe is just that - basic, simple and delicious.
First let's start with a bit of hummus background
Hummus is traditionally a spread of pureed chickpeas (aka garbanzo beans) with tahini (sesame seed paste/butter), lemon juice, garlic, salt and (usually) olive oil. Hummus is a very popular dish in the Middle East, North Africa and the Mediterranean.
And as you've probably noticed, it has become a staple in most grocery stores and comes in way too many varieties to try. It can be a dip, spread, served hot or cold, or used as a sauce on pizza or pasta!
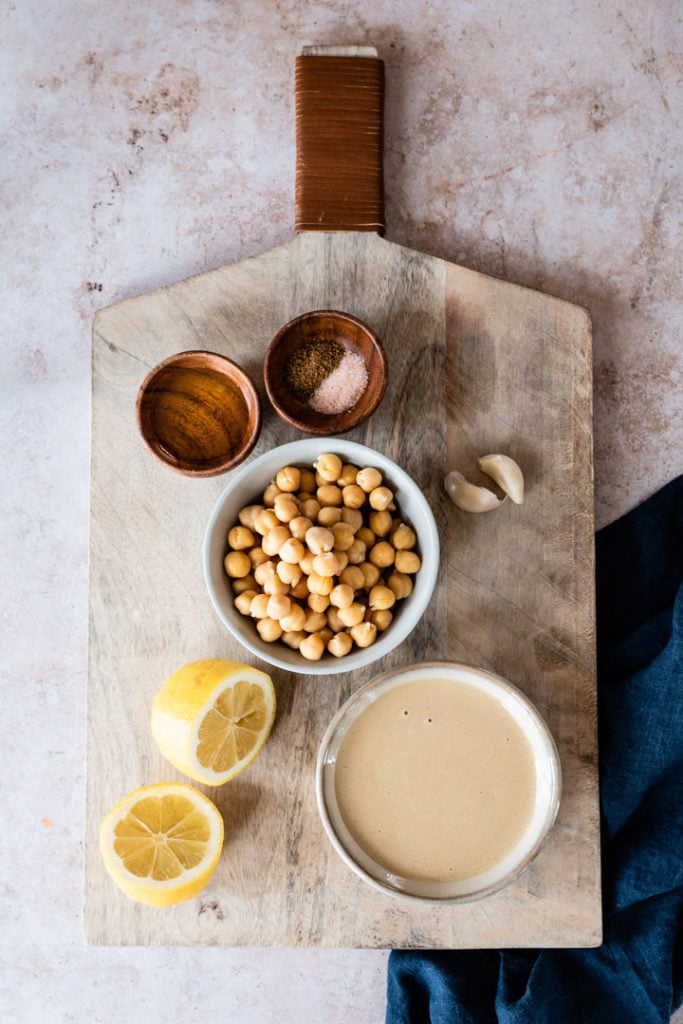
Go for quality ingredients
The biggest thing I can stress about making great tasting hummus is high-quality ingredients. If you start off with rancid olive oil or old tahini, you're going to end up with bad tasting hummus. That's just a fact.
Chickpeas: You can use canned or soaked and cooked dried chickpeas for this recipe. I've used both, it just depends on how much time I have and if I've thought ahead! I do like the flavor of cooked-from-scratch chickpeas better, but it's a close call as they both result in yummy hummus.
Either way, I recommend overcooking the chickpeas a bit so they get extra creamy. If you are using canned chickpeas, drain and rinse them, then transfer to a small pot with water and let it boil for 10-20 minutes.
Some hummus aficionados recommend boiling them in baking soda, but I haven't noticed a big difference. If you don't have the extra time to boil them, it's not a big deal. Your hummus will still be tasty, but likely not as creamy.
Removing the chickpea "skins" can also make your hummus a touch smoother. But again, I don't notice a big difference and this can be pretty tedious to do.
If you find yourself with a pile of chickpea skins, don't toss them! Drizzle in olive oil, salt and pepper and roast for a couple minutes for a crispy treat! Roasted chickpea skins add a seriously good crunch to almost anything. Try them for yourself.
Tahini: Don't skimp on the tahini. I've found the quality of tahini can make or break your hummus. Tahini can be found in most grocery stores either with the other nut/seed butters or in the ethnic foods section.
Lemon juice: Use the real stuff. Get yourself a good
Olive oil: Quality makes all the difference. Look for a high-quality extra virgin olive oil.
Garlic: In a pinch you can use garlic powder or pre-minced garlic, but I highly recommend using whole cloves. I'll use 2-3 cloves depending on their size, but feel free to add in more if you like your hummus extra garlicky.
Salt: I use sea salt or Himalayan sea salt.
Cold water: This will help make your hummus super creamy. If you find your hummus isn't blending together or you want it a bit thinner, just add another 1-2 tablespoons of cold water. I find 4-5 tablespoons is the right amount for my liking.
Start with 1-2 tablespoons and add more until you reach your desired consistency.
The temperature is important here too. Adding cold water helps keep the mixture from getting too hot in the food processor. You can also use the chickpea liquid, just stick it in the fridge while you're cooking the chickpeas to cool it down a bit.
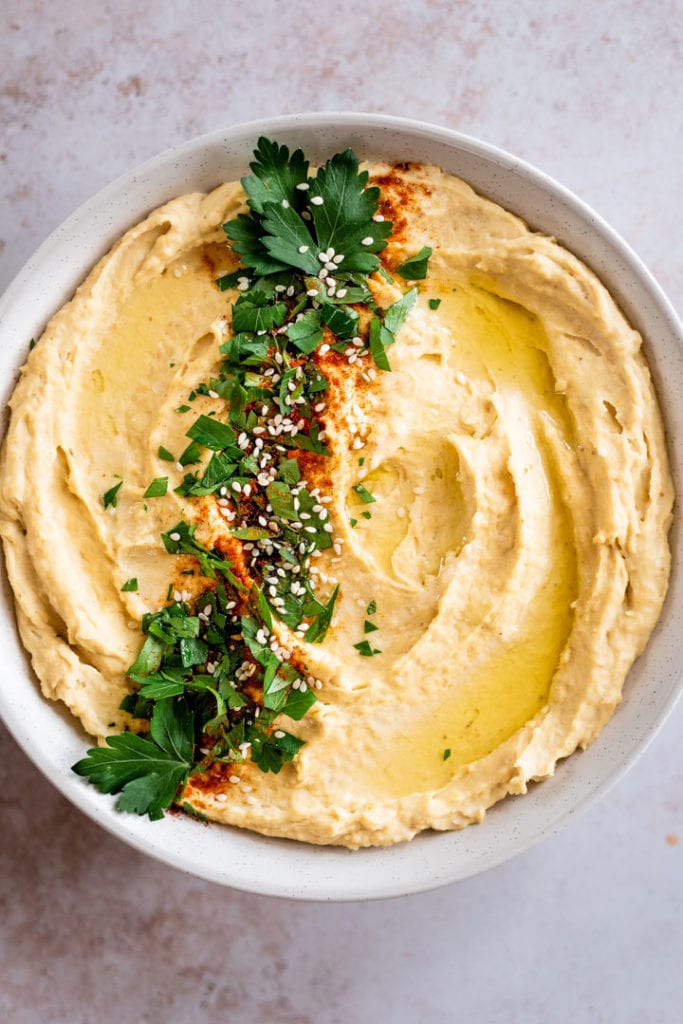
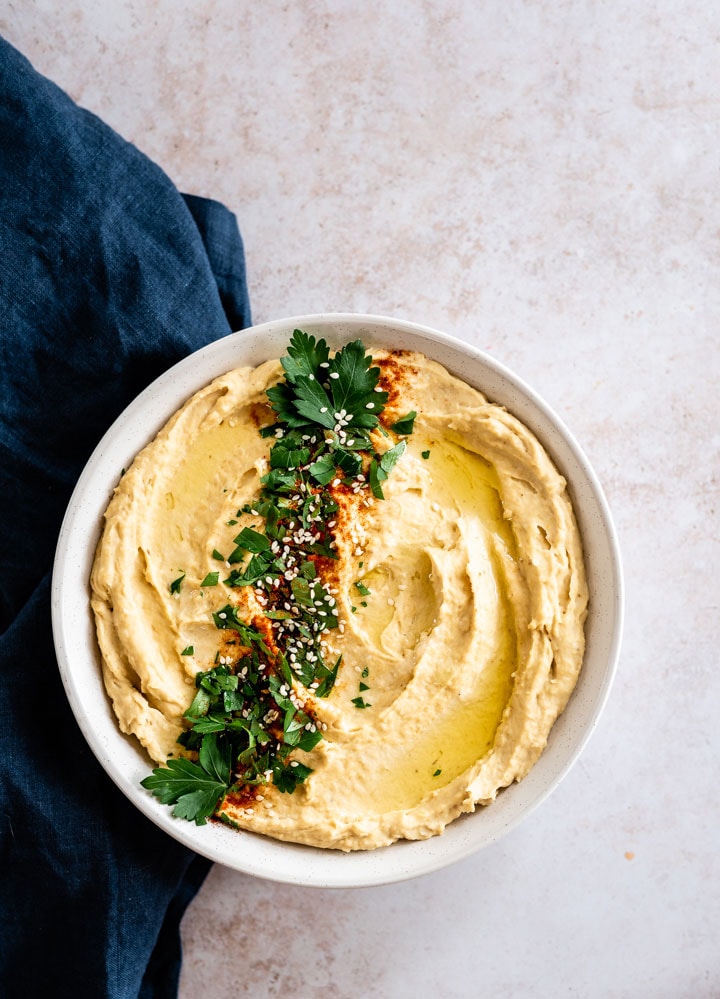
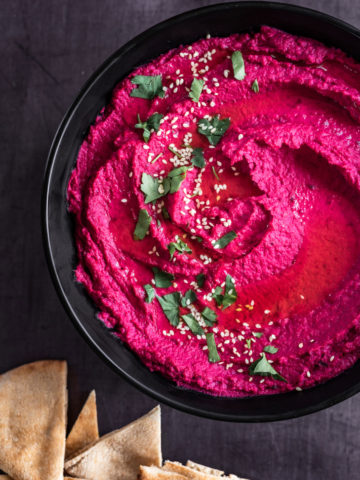
Toppings: Drizzle a bit of olive oil over the top and then sprinkle a little salt, parsley, and either sumac or paprika on top. Feel free to mix it up! Add Everything Bagel seasoning, red pepper flakes, chopped roasted red peppers, nuts/seeds. You do you!
How to make The Best Basic Hummus
1 - Overcook chickpeas. Drain and rinse the chickpeas, then transfer to a small pot and cover with water. Bring to a boil and let simmer for about 20 minutes.
The chickpeas should be falling apart. Drain the chickpeas and stick them in the fridge for a couple minutes. This helps keep the mixture from getting too hot in the food processor. Tahini and olive oil don't do well with heat.
2 - Blend: Add garlic, olive oil, tahini, cumin, salt, lemon juice and 2 tablespoons of cold water to a
3 - Add chickpeas and blend for about 5 minutes. Yep, I said 5 minutes. Let your food processor do it's thing and blend away, scraping down the sides every once in a while. This is what really makes this hummus creamy and dreamy. Add in cold water, one tablespoon at a time until it reaches your desired consistency.
4 - Top with a drizzle of hummus, paprika and chopped parsley. Enjoy!
How to use hummus
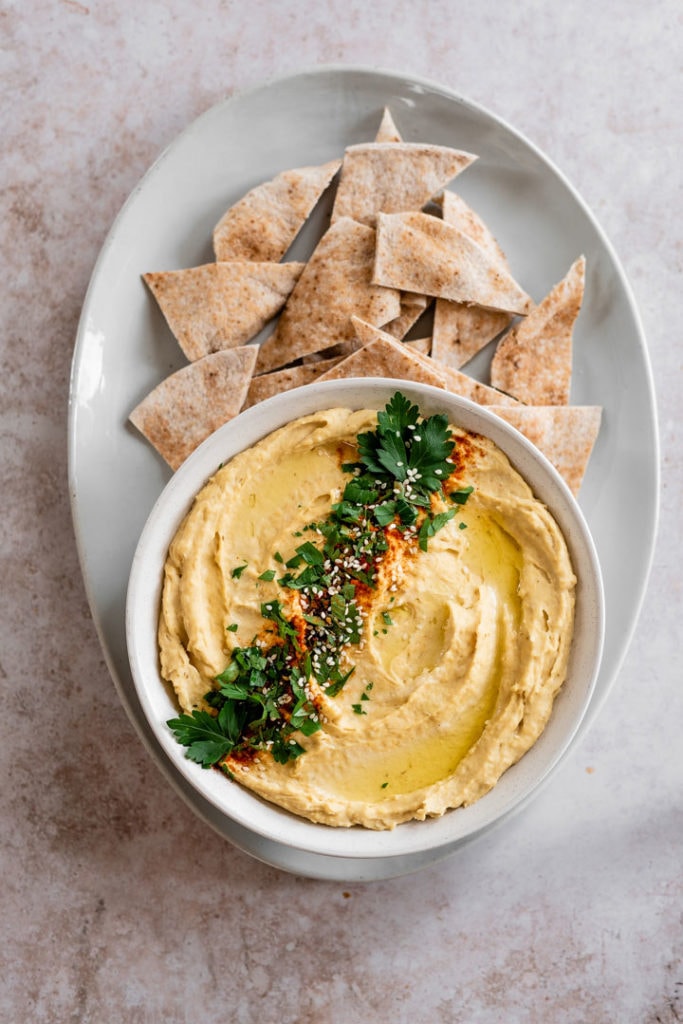
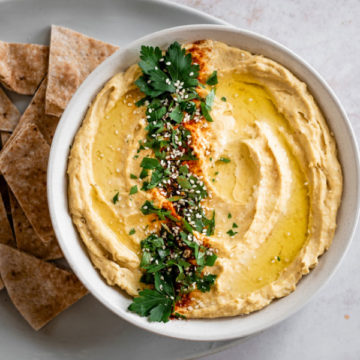
- As a dip with veggies like carrots, cucumber, celery, or with pita bread or chips
- As a spread on a sandwich, burger or wrap
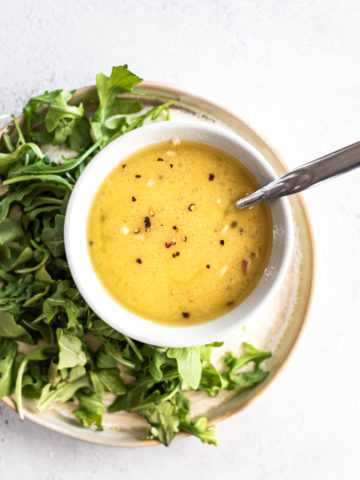
- Thin it out with more lemon juice, water and olive oil for a simple salad dressing
- Spread over naan or pita bread for a super quick pizza meal
- Use as a pasta sauce in our Date Night Pasta
Basis hummus: Tips, Tricks and Tools
The only tools you'll need are a
Don't let the lemon rind go to waste! Zest the lemon first, and use the zest in our Date Night Pasta or Lemon Dutch Baby Pancake.
I know blending for 5 minutes seems like a lot, but trust me, your hummus will be super smooth and creamy.
If you are using canned chickpeas, save the liquid (a.k.a aquafaba) and use it in place of the water. Doing this will lend itself to a slightly deeper chickpea flavor. You can use the aquafaba in a ton of delectable recipes.
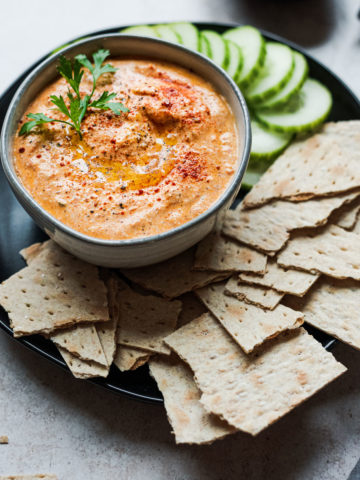
Variations: Mix it up by adding roasted red peppers, more garlic, ½ an avocado, basil and sun-dried tomatoes. The sky's the limit!
Traditionally (and in my opinion), hummus is best served immediately, not chilled. If you do prepare it in advance, let it come to room temperature before serving.
If you do decide to remove the chickpea "skins", drizzle in olive oil, salt and pepper and roast for a couple minutes for a crispy treat! TBH sometimes I peel them just to make crispy chickpea skins. They're that good.
We hope you love this Basic Hummus!
It's quick, simple, and will become your new go-to hummus recipe.
Love this simple dip recipe? Check out our other delicious Seasonal Dip recipes like this Habanero Carrot Dip or our Creamy Cashew Date Butter.
Did you enjoy this Basic Hummus as much as we do?
Comment below! And rate the recipe to let us know how it turned out! Not cooking today? Save this Basic Hummus for later by pinning it to your Healthy Appetizer Recipes Board and make sure to tag us on Instagram @crooked.carrot to show us your Basic Hummus creations!
📖 Recipe
The Best Basic Hummus
Ingredients
Instructions
- (If you're using canned chickpeas) Drain and rinse chickpeas. Transfer to a small pot and cover with water. Bring to a boil and let simmer for about 20 minutes. Then drain and put in the fridge for a couple minutes.
- Add garlic, olive oil, tahini, cumin, salt, lemon juice and 2 tablespoons of cold water to a food processor. Blend until smooth.
- Add chickpeas and blend for about 5 minutes, scraping down the sides every once in a while. Cutting short the blending time will result in less creamy hummus. Add in more cold water, 1 tablespoon at a time, until it reaches your desired consistency.
- Top with a drizzle of olive oil, paprika and chopped parsley. Enjoy!
Equipment
Notes
Nutrition
Disclaimer: Some of the links above are affiliate links. This means that should you purchase something through the link, The Crooked Carrot will receive a small commission. The item cost remains the same regardless of whether you purchase through our link or not. Any commission earned simply helps us continue to provide all our great content to you. From seasonal recipes to simple nutrition insights & sustainable zero waste tips, we have lots more to give!


Leave a Reply